Monday, October 24, 2016

REST Service Producing JSON & XML Response Bug and Fix in JDeveloper 12.2.1

I recently came across a very nice requirement where a REST service was required to produce a response both in JSON and XML format.

However, there is a bug with JDeveloper and the automatic generation of EJB/TopLink Entity annotations. This bug is reproduced when you choose to generate a REST service on that automatically generated EJB entity and you choose to produces both a JSON and an XML response.

What's even trickier is that this bug is only revealed at runtime when you choose to parse an XML response. It will throw an Internal Server Error (500) and if you inspect the log files you will see the following trace:

MessageBodyWriter not found for media type=application/xml, type=class java.util.ArrayList, genericType=java.util.List

So let's see in details how to reproduce this bug and how to fix it.

I will create a new application using the "Custom Application" template and will provide an application (bug-with-rest-service-app) and a project name (bug-with-rest-service).

What I will do is that I will create an EJB entity based on the "Countries" table from the HR sample database schema. So right-click your project, choose "New", "From Gallery" and under the "Business Tier" section, select the "EJB" category and then from the category items select "Entities from Tables".

Ensure "JPA 2.0 Entities (Java EE 6)" is selected and click next. Click "Next" in the "Persistence Unit" and "Types of Connection" steps and in the fourth step ("Database Connection"), click on the green plus button to create a new database connection (or choose an existing one from the drop down list).

In the fifth step select the "Countries" table and click "Next".

Specify an appropriate package name for creating the EJB entity and click "Next" and then "Finish".

You should have an offline database created with the "Countries" table, a persistence.xml file (JPA configuration file) generated under "META-INF" and your "Countries" EJB entity created under your defined java package path.

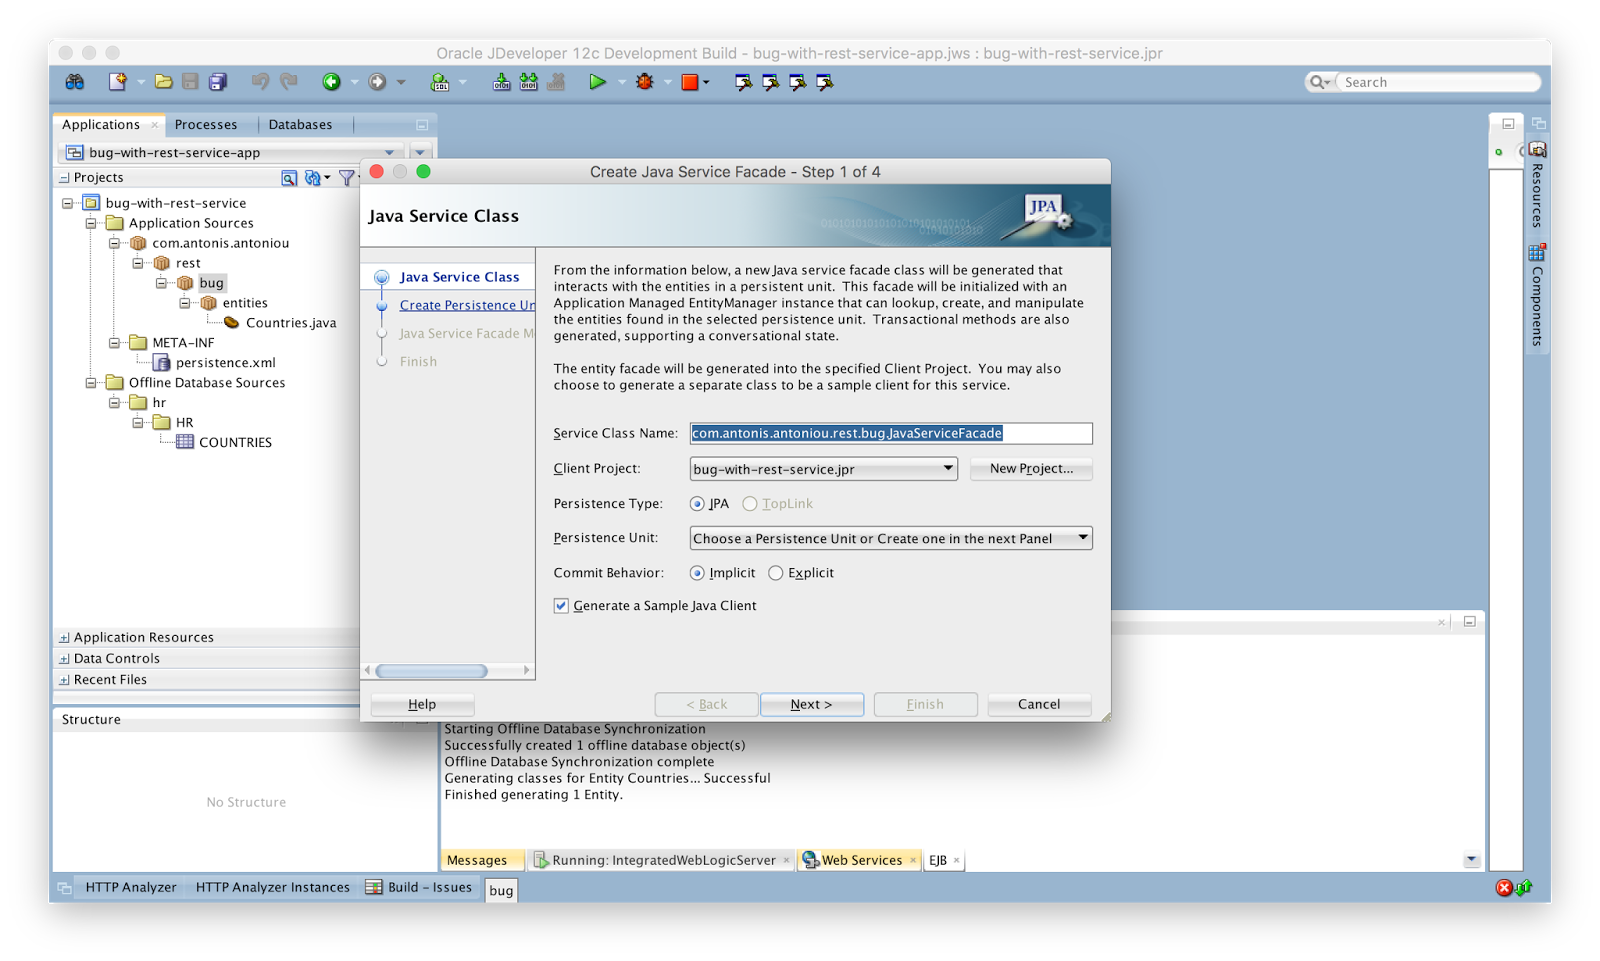
Next we need to create a facade and expose the methods that we want to expose on the "Counties" EJB entity. To do that we will use another JDeveloper wizard.

So right-click your project, choose "New" and from the context-menu select "Java Service Facade (JPA/TopLink). Specify a package for storing your facade and click "Next".

Leave all defaults on the second step and click "Next" and on the third step of the wizard click on "Finish".

So now we have a Facade which acts like our "controller", defining what is accessible on the "Countries" EJB entity and you should have also a test client which via the facade accesses one of the exposed operations (should be getCountriesFindAll).

If you run the test client you should get a list of countries printed in the log window.

We are now ready to create our REST service. Again for this we will use JDeveloper's REST build in capabilities to generate a REST service.

There are several ways to do that. We can very just right click our facade and create a REST service. However, this would result in a really bad design pattern. I highly recommend that you create a "wrapper" class on top of the facade and then expose that "wrapper" class as a REST service.

So right click your project, select "New" and select "Java Class". Give your Java class a name, specify a package and click "OK".

Create a method in your new class that just returns a list of counties using the facade class that you generated before.

We are now ready to create a RESTful service using the above class. To do so, right click your Java class and from the context menu select "Create RESTful Service". We only need to configure step 3 of the wizard.

You should have your "getAllCountries" method listed under the "Configure HTTP Methods" section.

In the "Type" field select the "GET" operation and click in the "Produces" field to open the "Media Types" popup and select the "application/json" and "application/xml" media types (so that our service is capable of returning either a response in JSON or XML format).

Click "Finish" to generate the REST service (ignore the return type warning).

If you inspect your Java class you should notice that it has been "decorated" with various annotations to instruct the runtime JVM engine to treat this class as a REST service.

We are now ready to test our REST service. To do so, right click your Java class and select from the context menu "Test Web Service". This should start your JDeveloper's embedded Weblogic Server and it should open an "HTTP Analyzer" to test your REST service.

If you click on the "Send Request" button, your REST service should be invoked and in the right response panel you should get a response listing all countries in JSON format.

If you recall a few steps before, we configured our REST service to be capable of returning a response back in both JSON and XML format. So why is JSON configured as the default response type?

The answer relies on the @Produces annotation in our Java class. The media type definition order is crucial. As we can see in our class, JSON is configured first and XML is configured as the alternative media type.

So how can we instruct a web service client to request a specific media type response? Well using the "Accept" HTTP header definition. So from the "HTTP Analyzer" window, click on the "HTTP Content" tab and in the "Accept" HTTP header property, update its value to just "application/xml".

If you invoke the service now, you should get an "Internal Server Error" exception (HTTP 500). And if you inspect the log window you should get the following stack trace:

MessageBodyWriter not found for media type=application/xml, type=class java.util.ArrayList, genericType=java.util.List<com.antonis.antoniou.rest.bug.entities.Countries

The reason for getting this exception is that because there is insufficient information in the "Countries" EJB class to help the JVM runtime to interpret the result and map it to the appropriate XML elements.

To fix this exception we need to decorate our "Countries" class with two additional annotations to instruct the engine to perform the proper Java to XML mapping. Therefore add the @XmlRootElement annotation just above the @Entity annotation to map the entire class to be the root XML element and just before each get method (getCountryId, getCountryName and getRegionId) add the @XmlElement annotation to map the countryId, countryName and regionId properties to XML elements.

Let's try to run our REST service again (stop the previous instance and run another test). From the "HTTP Analyzer" window, click on the "HTTP Content" tab, update the "Accept" HTTP Header property to "application/xml" and click on the "Send Request" button. You should now get a response back in XML format.

Update the "Accept" HTTP Header property to "application/json" and click on the "Send Request" button. You should get a response back in JSON format.

Download sample application: REST Service Producing JSON & XML Response Bug and Fix in JDeveloper 12.2.1

Saturday, October 22, 2016

Oracle Cloud Platform Innovation Award for Cloud Integration

The Chartered Institute of Management Accountants (CIMA) has received, together with eProseed, the 2016 Oracle Cloud Platform Innovation Award for Cloud Integration as a recognition for their pioneering hybrid cloud integration project, which is also the 1st SOA Cloud Service system to go live in EMEA.

The accolade was presented to CIMA during the Oracle Excellence Awards ceremony at Oracle’s flagship OpenWorld conference in San Francisco.

The Oracle Innovation Award we received together with eProseed is a recognition of our joint effort to improve CIMA’s delivery of high quality professional qualification services around the world by modernizing our IT platforms using Oracle Cloud. eProseed’s expertise, responsiveness and close collaboration with Oracle staff were fundamental to delivering this project” says Mie Verstraelen, CIMA’s Director of Global Technology Services, adding “we look forward to continuing our close relationship with eProseed for the next stages of our cloud journey.


Monday, October 10, 2016

Oracle Process Cloud Service Connectors (Part 2 of 2): REST Service Connector

In the previous post we saw how you can use the Web Service Connector in Oracle Process Cloud Service to exchange data with an external application using the SOAP protocol.

Oracle Process Cloud Service also supports the REST architecture to retrieve, create, update and delete data using REST services and this is what we will look into in detail.

To create a REST service connection in Oracle Process Cloud Service, you need the following information:
  • REST Service definition (for example, WADL, RAML, YAML, etc.)
  • Resource URLs
  • Access to the resource URLs to retrieve JSON sample
  • List of operations to use on each resource
  • List of parameters for each operation
  • In case of a secured REST service, the credentials (username and password) to access the service
Without losing any time, let's see how you can create a REST Service Connector in Oracle Process Cloud Service using a very simple scenario.

I will be using one of the many publicly available web services to retrieve the states and territories of a country. The service url is "http://services.groupkt.com/state/get/{countryCode}/all" and the service requires you to supply a country code in the form of a 3 character ISO code and will return a list of states in JSON format.

In a nutshell, what we will develop is a process that will invoke the REST service described above. The process will start with a form pattern, where the user will type in the 3 character ISO country code. The process will then invoke the REST service, passing it the country code entered by the user and using a second human task, we will display the first state of that country.

First thing that we will do is to create a new application in Oracle Process Cloud Service (I've named it "Rest Service Connector Demo App" under a new space called "aantoniou").

Next we will create a process to hold the two human tasks and the service call. So from the "Create a Process" screen, select the "Start with a form" pattern, give your process a name and click on "Create".

Edit the "Start" component and open it's implementation details and enter a title for the start component (for example, "Retrieve Country States").

Under the "Web Form" section click on the blue add button to create a new web form and give your web form a name. Ensure you selected "Open Immediately" to open the web form for editing.

In the web form designer, drag and drop on the form canvas a dropdown and a text field. Name the dropdown component "Country Code" and the text field "State" and ensure the "State" text field is disabled (by unchecking the "Enabled" property).

Go to the "Country Code" dropdown properties and add a few options in the form of a "display=key" value-pair. Your "Country Code" dropdown should like as below.

We can now move on and create the Rest Service Connector. From the "Application Home" tab, go to "Connectors", click on the plus icon and select "New Rest Connector" to create a new connection. Give your rest connector a name and supply the base URL of your REST service.

In the "Rest Connector Editor"  click on the "Add" button to create a new resource. Give your resource a name and update the base url path to reflect your resource location.

Once we have defined a resource we can now go on and create an operation (or more if we want) on that specific resource. We will create a "Get" operation, so from the "Add" button select the "Get operation" and click on the newly created operation to open its properties. In the path property we will enter the full path of the operation. This is "get/{countryCode}/all". Please notice how Oracle Process Cloud Service automatically identified the parameter in the operation path and created it for you under the parameters section.

Because of the "semi-structured" nature of REST servicesN (and their JSON response), we need to instruct our REST service connector what the response will look like. Therefore from the "Response" tab click on the plus icon to create a business object to store the REST service response. Supply a name for your business object and enter the JSON response of your service (Oracle Process Cloud Service will inspect the JSON response and construct appropriate XML elements).

Click "Apply" to apply your changes and dismiss the operation window and save your work.

Our REST Service Connector is ready for use. Go back to your process and drag and drop from the component palette a "Service" component between the "Start" and "End" components.

Rename the "Service" component to "States Service" and go to its implementation details to define its implementation type. From the "Type" drop down select "Service Call" and click on the pencil icon to configure the "Service Call".

From the "Configure" window select the "Rest" service type and using the connector browser select the REST Service Connector you above (if you followed my exact steps this will be "DemoRestConnector"). The "Resource" and "Operation" drop down lists should be automatically populated with the appropriate resource and operation you created on the REST service.

Next we need to pass to the service call the Country Code that will be entered by the user in the process start form and pass back to the process response from the REST service (the first state).

So with the service component selected, click on the "Data Association" button and assign your form's Country Code element to the countryCode. You should get an exception saying that you cannot assign CountryCodeType to a string. That's because country code is an enumeration of elements. To fix this error just surround your assignment with string() function to convert it to a string.

Next we need to assign the response of the service to the form's state element. So from the "Output" tab, click on the function button (fx) to open the expression editor. Expand the "body" element, "restResponse" and "result" and select the "name" element and click on "Insert Into Expression".

Please note that the response is an array of states, therefore we need to instruct PCS to retrieve a specific array element. We will be displaying just the first state, so update your expression as follows:
"body.restResponse.result[1].name"

Click "OK" to dismiss the "Expression Builder" window and "Apply" to apply your configurations.
Drag a "Submit" component (Human Task) next to your service component, rename the "Submit" component to "View Service Result" and from its implementation details ensure you selected the same web form you created for the "Start" component.
We are now ready to test our application. And for testing we will be using the Application Player feature of Oracle PCS which basically deploys a version of your application to runtime using a special runtime partition and allows you to inspect inline execution of your process.
Click on the "Play Process" button just above your process and then click on the play button that is shown just above the "Start" button. This will bring up the "Play" window which allows you to select the user to perform this task. I will use the default one and click on the "Run" button.
This will bring up your web form. From the "Country Code" select a country and click on the submit button.
You should see your process execution path with the token being now at the "View Service Result" human task. Click on the "Play"button which now appears just above the "Submit" task and from the "Play" window click on the "Run" button and select "Launch Form" to open your web form.
You should now see the "State" field being populated with the REST Service's result.